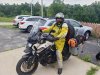
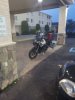
This past weekend and after almost 10 months of downtime, I actually rode mine!!!

The downtime was mainly due to a backordered rear brake caliper. While touring and after catching an irreparable rear flat, a dealership service tech improperly installed the rear axle, which warped the rotor and chewed into the caliper. The dealership paid for all the damages. During the downtime, I installed Galfer steel braided brake lines for the front, rear and clutch. A few of the Galfer lines were not true plug and play and required some re-work and sourcing of new grommets and clamps, which ate up more time (!) I also installed Galfer HH sintered pads up front (new rear caliper assembly included new OE pads). Lastly, I added a GIVI Ultima-T UT813 tail bag. Feels GREAT to be back on the Main Battle Tank again!
View attachment 103462
View attachment 103463
View attachment 103464
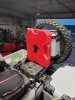
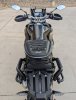
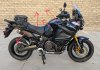
GIVI Ultima-T UT813 tail bag is pretty low key and expandable. Liking it so far.
View attachment 103465
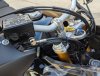
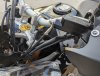
Galfer line fit at front master cylinder.
View attachment 103466
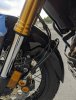
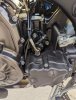
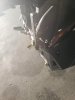
Galfer line fit at front caliper.
View attachment 103467
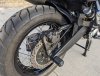
Galfer line fit at rear master cylinder.
View attachment 103468
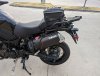
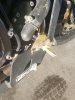
Galfer line fit at rear (factory fresh) caliper.
View attachment 103469
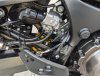
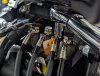
Galfer line fit at clutch master cylinder.
View attachment 103470
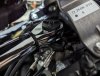
Galfer line fit at clutch slave cylinder.