SkunkWorks
Well-Known Member
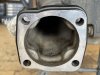
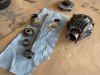
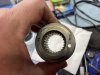
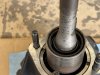
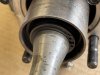
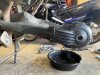
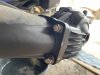
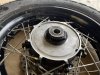
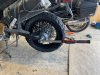
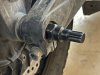
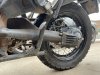
Next, I moved on to the Output-Seal.
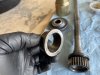
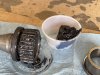
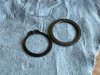
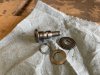
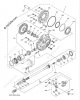
This is the Yamaha part-number.
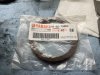
Not sure what manufacturer brand this is, but is the same on both the old and new Seals
The Part-Numbering on the old Seal.
Part-numbering on the new Seal.
The only difference here is the "A1" vs the "A4" on the old one. This is most likely a manufacture-date (ie: Month, Week, Day, Year, etc......)
I can confirm the numbers refer to the ID, OD, and thickness in MM.....................I measured the old one.
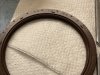
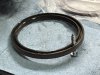
70mm x 84mm x 6mm
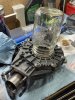
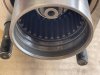
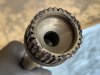
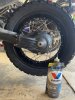
Removing the old one:
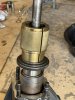
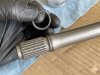
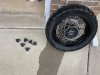
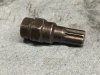
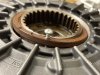
I drilled a tiny hole in the exposed face of the old Seal.
I threaded in a small sheet-metal screw.
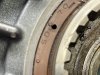
As you tighten the screw it bottoms against a large metal washer, that sits just outside of the output-bearing.
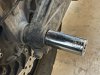
Further tightening just pushes the Seal out, and did not require much force at all.
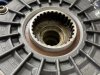
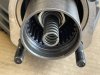
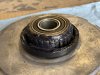
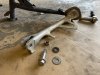
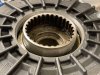
With the Seal out, you can see the large washer behind it.
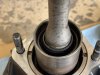
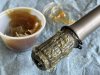
I wiped everything clean before starting to install the new Seal.
This is the Yamaha part-number.
Not sure what manufacturer brand this is, but is the same on both the old and new Seals
The Part-Numbering on the old Seal.
Part-numbering on the new Seal.
The only difference here is the "A1" vs the "A4" on the old one. This is most likely a manufacture-date (ie: Month, Week, Day, Year, etc......)
I can confirm the numbers refer to the ID, OD, and thickness in MM.....................I measured the old one.
70mm x 84mm x 6mm
Removing the old one:
I drilled a tiny hole in the exposed face of the old Seal.
I threaded in a small sheet-metal screw.
As you tighten the screw it bottoms against a large metal washer, that sits just outside of the output-bearing.
Further tightening just pushes the Seal out, and did not require much force at all.
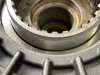
With the Seal out, you can see the large washer behind it.
I wiped everything clean before starting to install the new Seal.