Side panel removal

camardelle

Member
Joined
Sep 7, 2014
Messages
170
Location
Beautiful Willis Texas
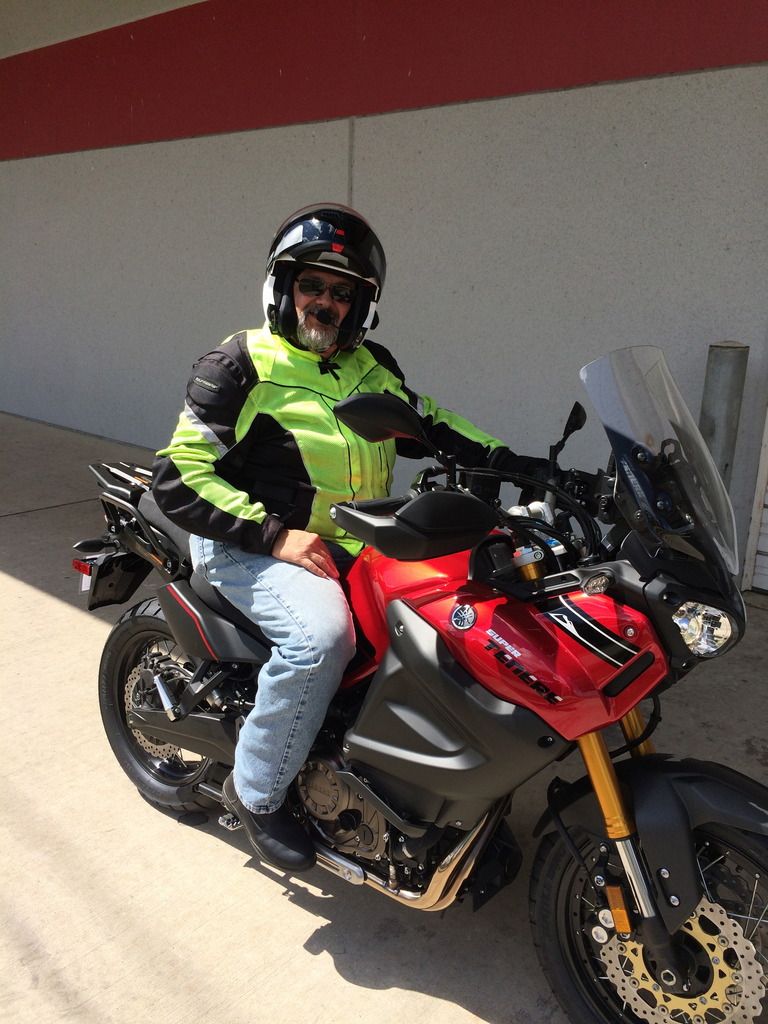
I pick up my new ES today. Can someone point me to a video or instructions on how to remove the side fairing panel so I can access the battery? I've googled till I'm blue in the face but am turing up empty handed. Any help would be greatly appreciated.


Looking forward to the change coming with the Super Tenere. Thanks in advance and ride safe.
 

Grumpy

Getting old is not for wimps
Joined
May 28, 2013
Messages
411
Location
Surbiton U.K.
You just need a #4 hex key (Yam put one clipped to the under side of the seat should you need) You will see 4 chrome domed bolts for the key, turn each one anti clock for about half a turn, they pop out but stay attached to the panel. To replace the panel then push and turn each bolt.
 

Dogdaze

Well-Known Member
Joined
Sep 17, 2014
Messages
3,040
Location
Solothurn, Switzerland
You have 4 quarter turn screws on the panel, just turn, they stay in the panel, also a rubber grommet in the bodywork that the panel fits into...
 

Squibb

Well-Known Member
Joined
Aug 10, 2014
Messages
1,068
Location
Bedford, UK
It's all in the riders manual.

Remove the riders seat, using the ign, key. Under there you will find a hex key. Move down to the right side panel, the black plastic affair. At each corner is a fastening (4 in all) - using the hex key give each a half turn anti-clockwise & wriggle them free. The front lower can be awkward if you have OE crash bars installed. The panel is then held on a press stud mid way along it's top edge - just pull outwards gently & the panel will come away to reveal the battery. This is sealed for life, maintenance free. Make sure the terminals have been tightened down fully - some of us have found them slightly loose. Fit a Pigtail if you want to use a trickle charger

Whilst you are in there, ahead of the battery is a pack containing the usual crap toolkit - you may wish to customise it's contents. Also up behind the toolkit area are, carefully hidden, two plugs for accessories - 3 wire for aux. lights & a 4 wire plug which was intended for heated grips on the standard model, but seems redundant on the ES.

Enjoy your new ride - there is lots of good advice here, many now with the Gen 2 ES model.

Ride Safe ..................... KEN
 

camardelle

Member
Joined
Sep 7, 2014
Messages
170
Location
Beautiful Willis Texas
Squibb said:
It's all in the riders manual.

And there's no reason to wait for a hard copy thanks to Yamaha, right? Found the manual online and there it is starting on page 7-9. Thanks for the advice everyone.


I'm really stoked about the new ride. Traded in the GSA and ordered the three cases, factory crash bar, air winglets, and driving lights. I wonder how long it'll take me to get to the first oil change? ::022::
 

AVGeek

Well-Known Member
Founding Member
2014 Site Supporter
Joined
Sep 5, 2010
Messages
2,780
Location
Boulder City, NV 89005
Congrats on the bike camardelle! Is it a brand new bike? Those usually come with the owners manual as part of the delivery...

And when you get a chance... ::006::

Have fun breaking in the new ride!
 

camardelle

Member
Joined
Sep 7, 2014
Messages
170
Location
Beautiful Willis Texas
Mission accomplished. Bags, bag liners. crash bar and lights come in soon after which I'll drop off the bike and pick it up the next day. It'll be like getting a new bike twice!!


Top