GSequoia
Active Member
Hello there,
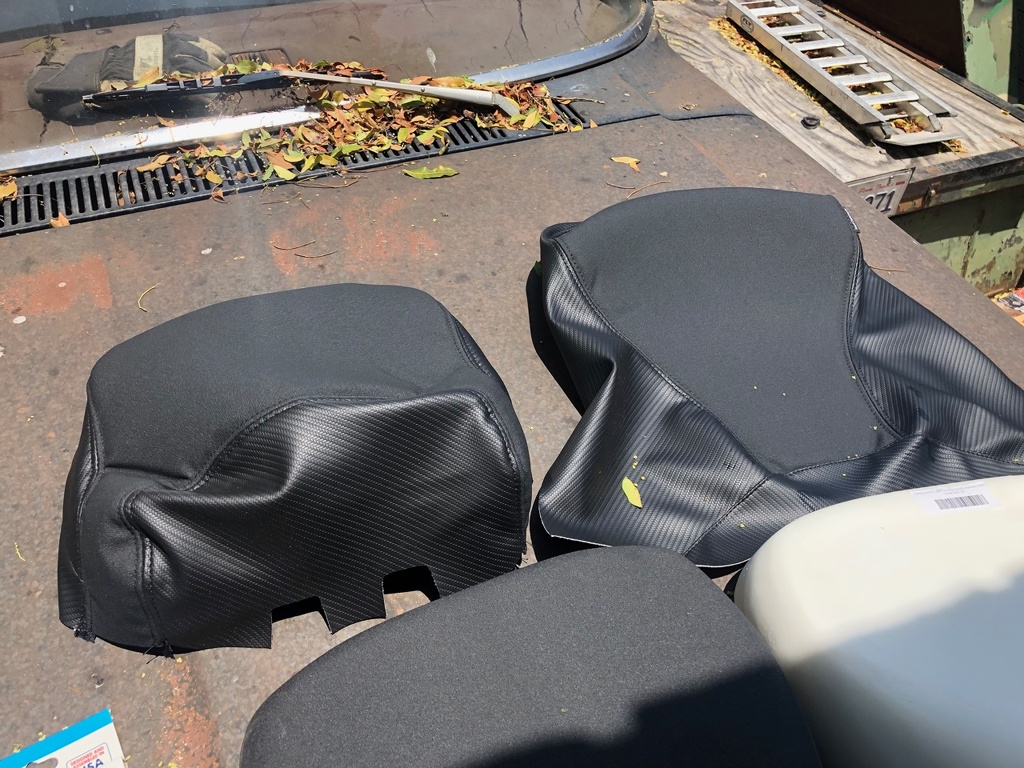
I finally got around to installing my Seat Concepts Cover & Foam kit onto my bike and figured I would share here. I find the stock seat gets on the uncomfortable side after about an hour and a half on the road so turned to Seat Concepts to correct that. This is my third bike to sport a Seat Concepts kit (previous are the KLR650 and DR350S) and I find their kits to work quite well. For this bike I chose the Gripper Top and Carbon Fiber sides cover as the gripper top closely resembles the OEM seat.
The first thing you want to do is gather your supplies. I'm using an old (like 50+ years) Arrow heavy duty staple gun, T-50 1/4" staples with stake tips, aerosol headliner/carpet glue, and a few hand tools.
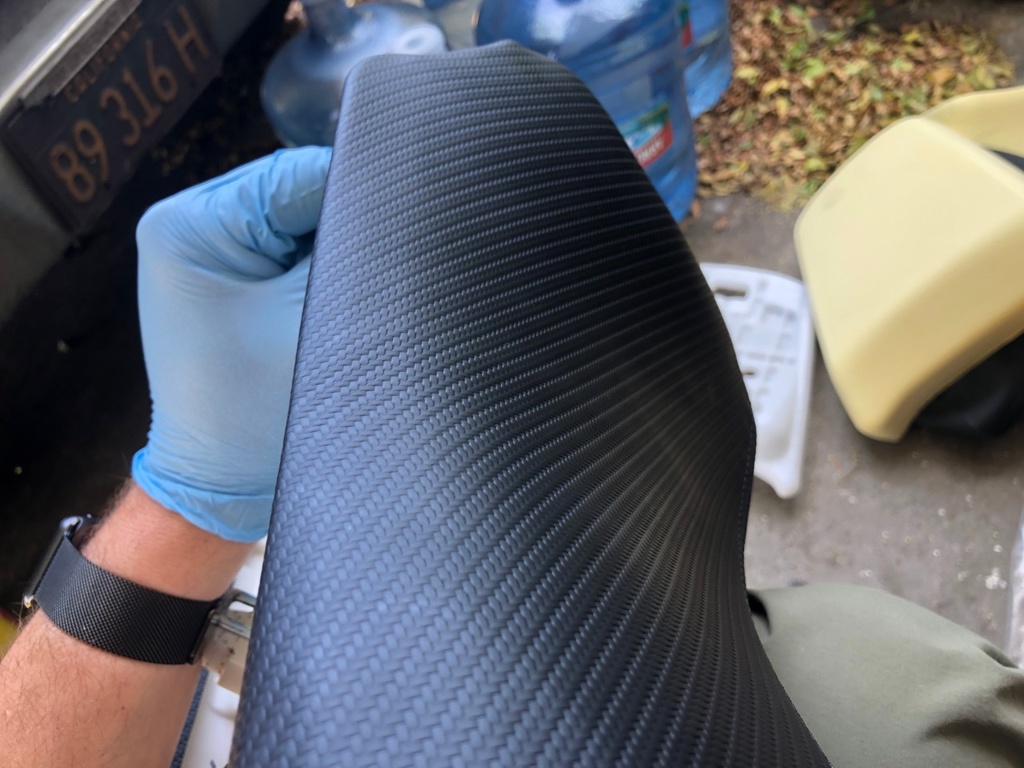
Prior to beginning lay your new cover out in the sunlight for about an hour. This will make the job easier by making the material more pliable.
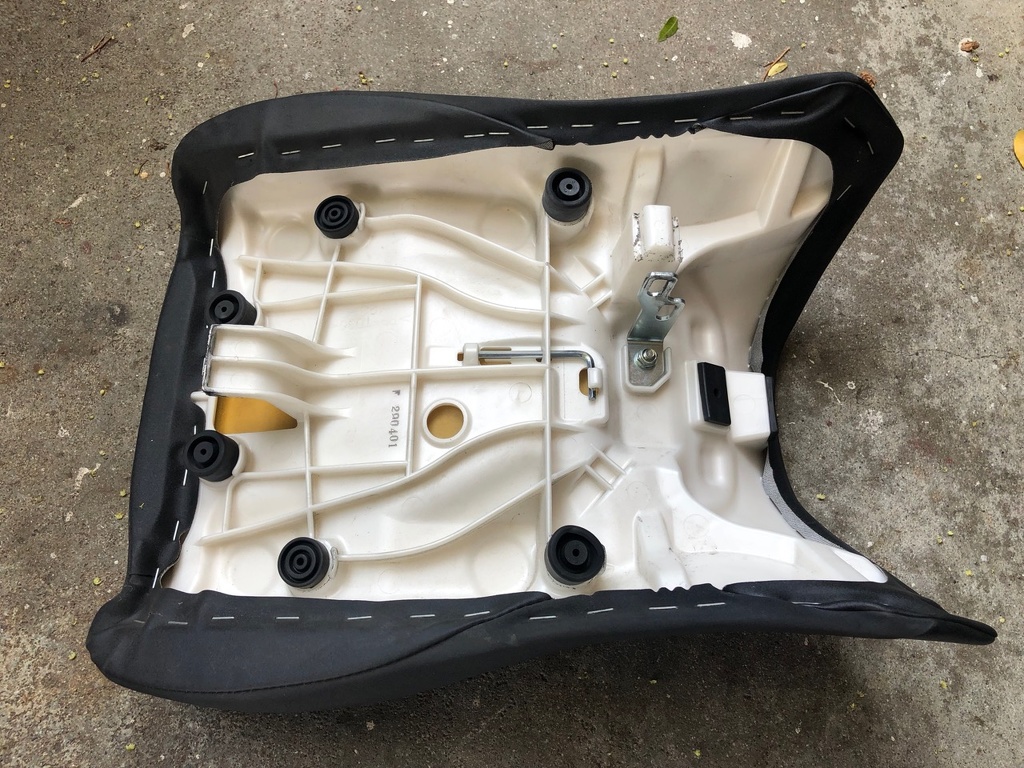
Now take your seat off, flip it over, and start removing the old staples.
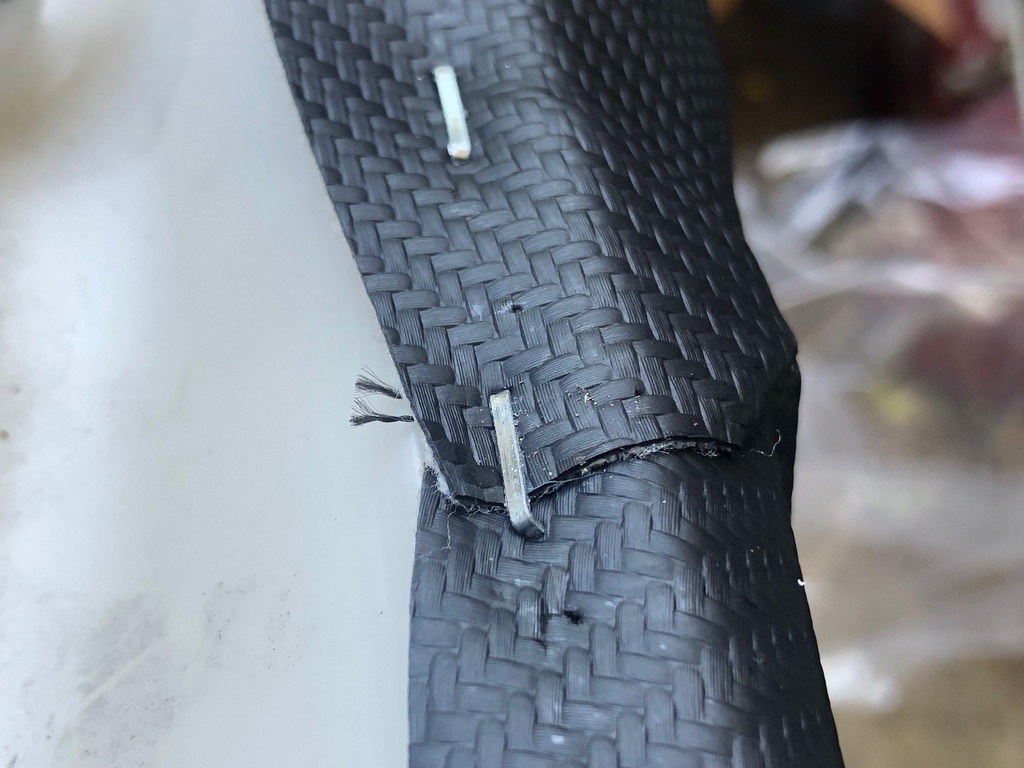
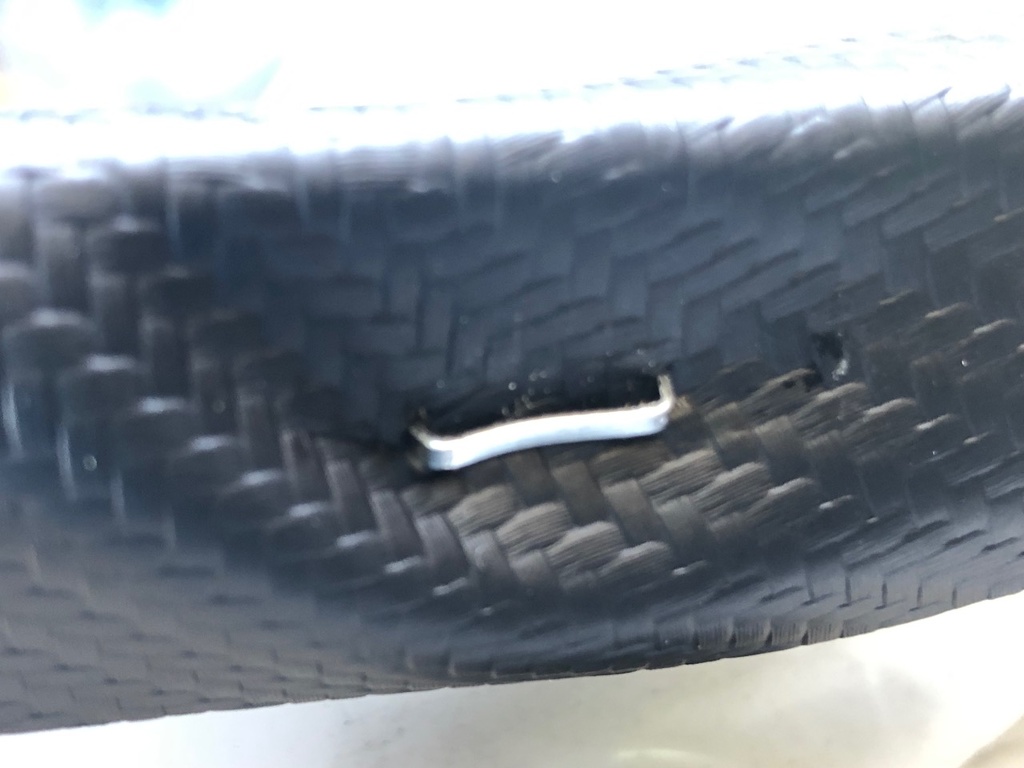
I find it easiest to take a small screwdriver and pry the staple up to pop one of the two legs out.
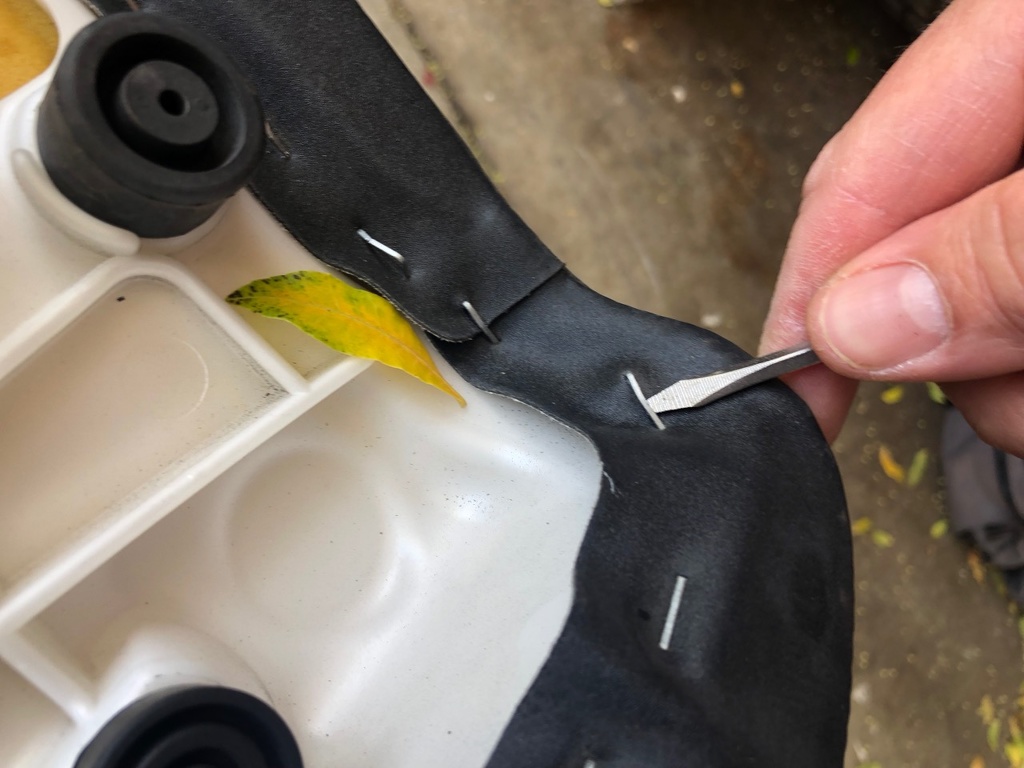
I go around the entire seat with the screwdriver then go around it with a pair of pliers to remove the rest of the staple. When removing the staples note whether the entire staple has come out or if a leg broke off, you don't want those potential sharp edges left in there. In this case I had no staples break in the seat as it's only three years and 7000 miles old.
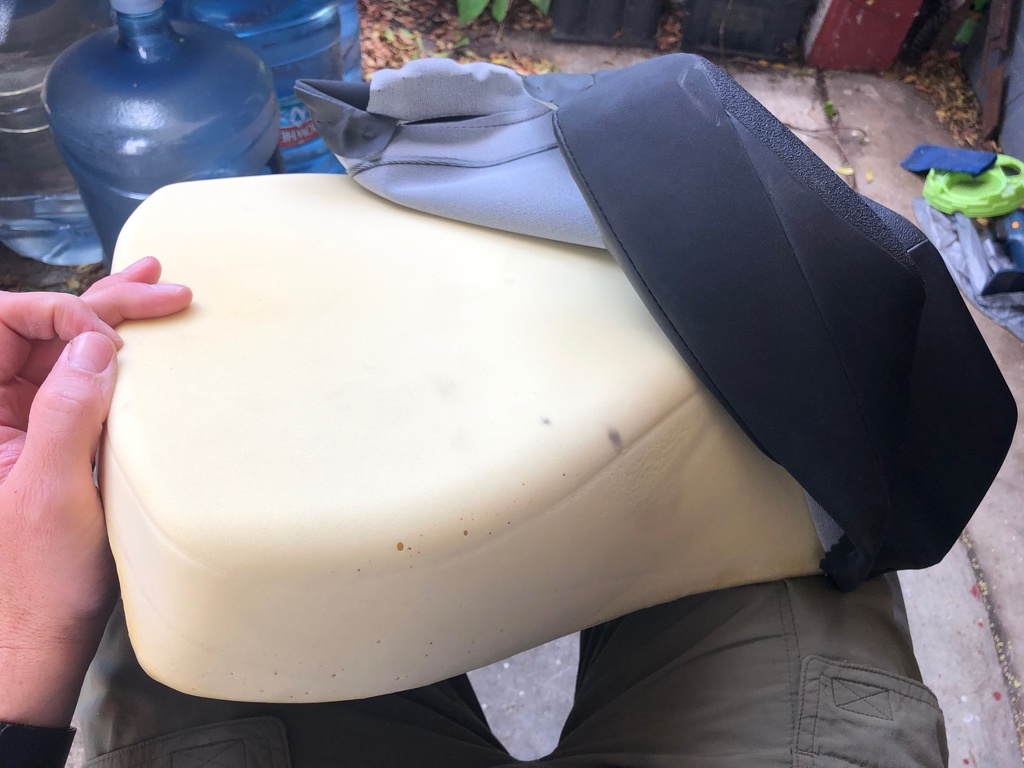
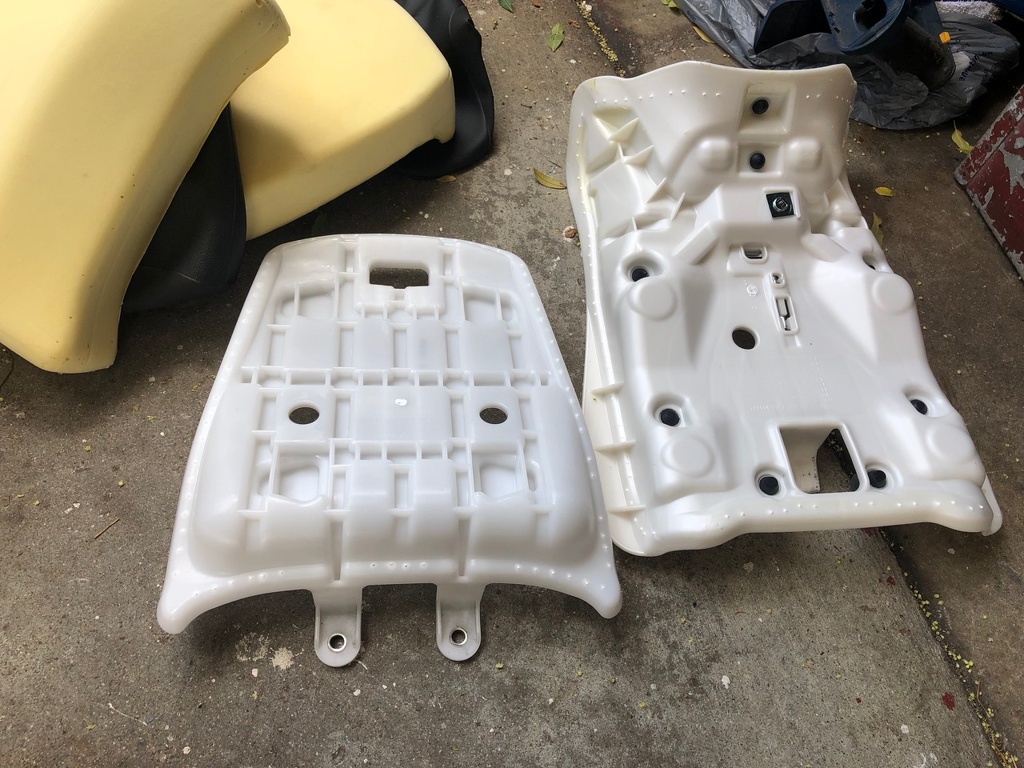
Now peel the cover off and remove the foam.
When you're done you'll have naked seat pans. If they're dirty wash them off, then look and feel around for sharp edges that may cut the foam or cover.
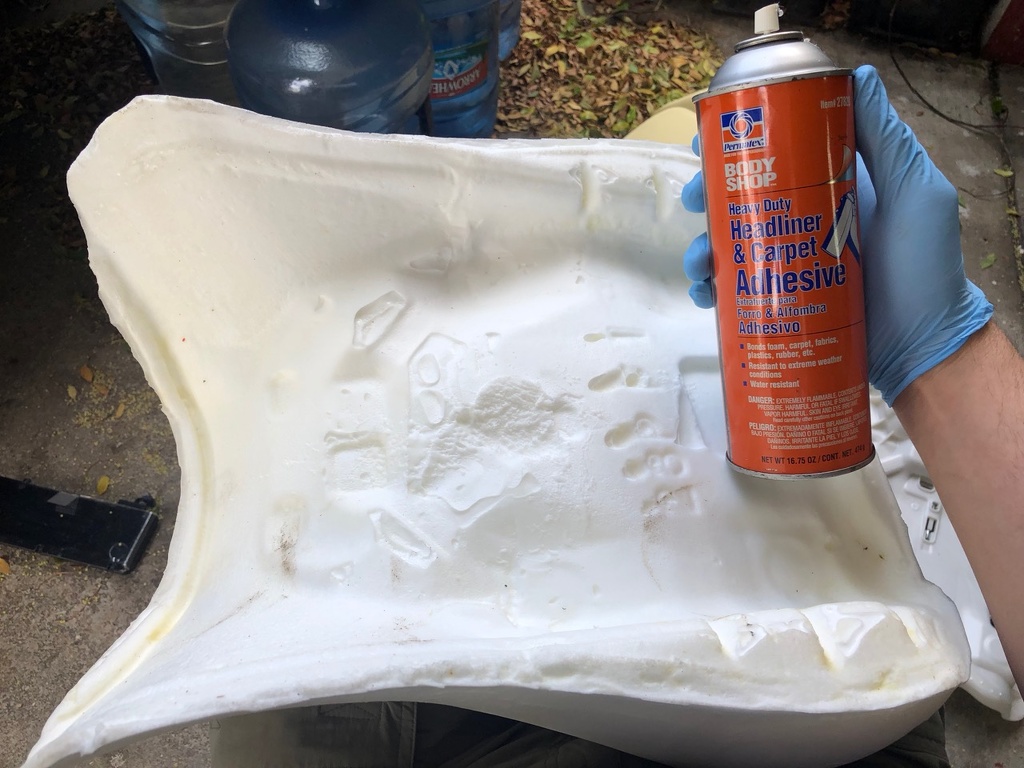
Put some gloves on then take your can of glue and spray the underside of the new foam liberally.
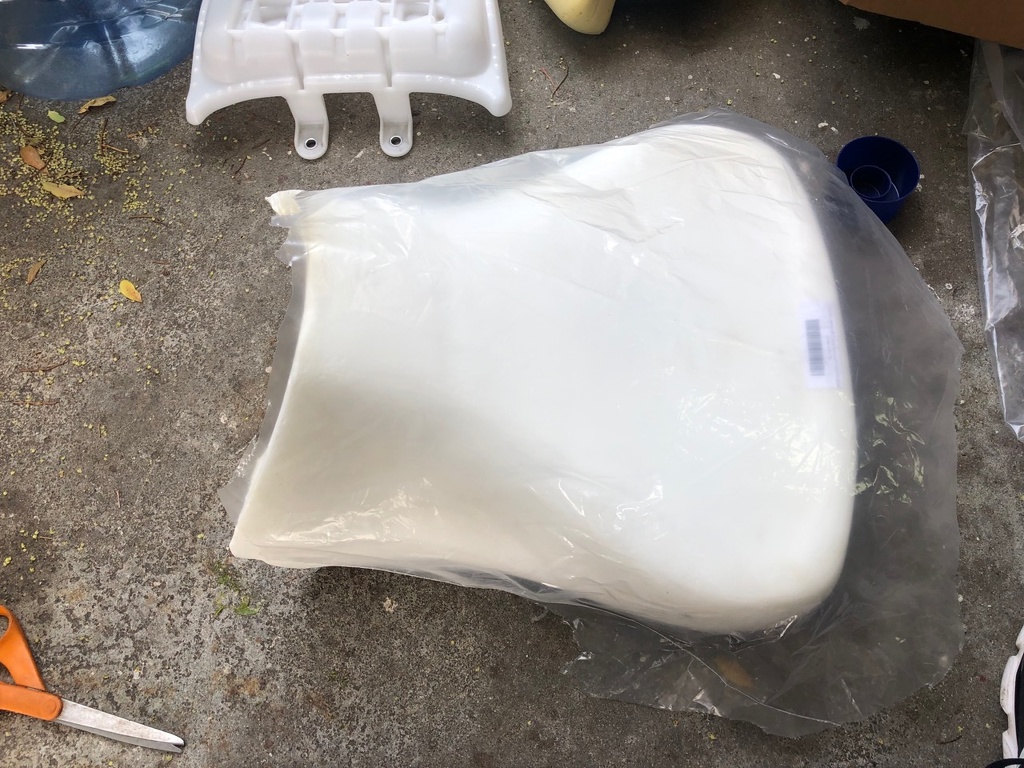
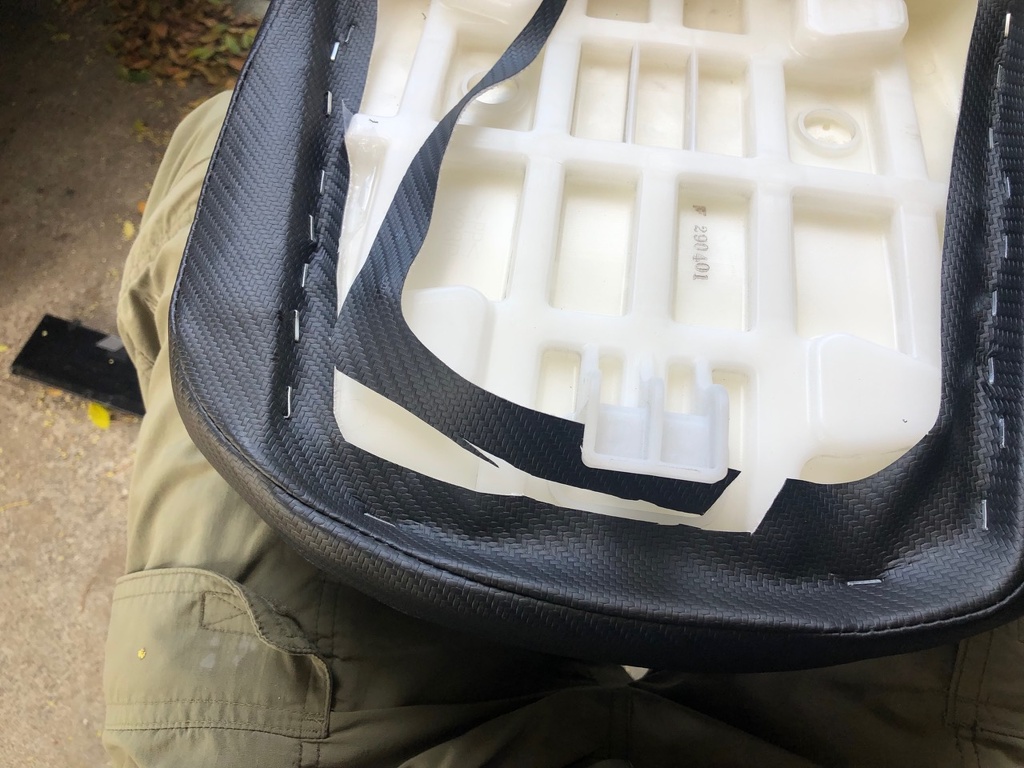
The kit comes with a plastic layer to put in between the cover and foam. While this is optional I always do so. This layer isn't cut to size (it's actually just a plastic bag) so lay it over the seat and use scissors or a utility knife to cut it at the edge of the pan. The cut doesn't have to be exact as you can trim any oversized parts down later.
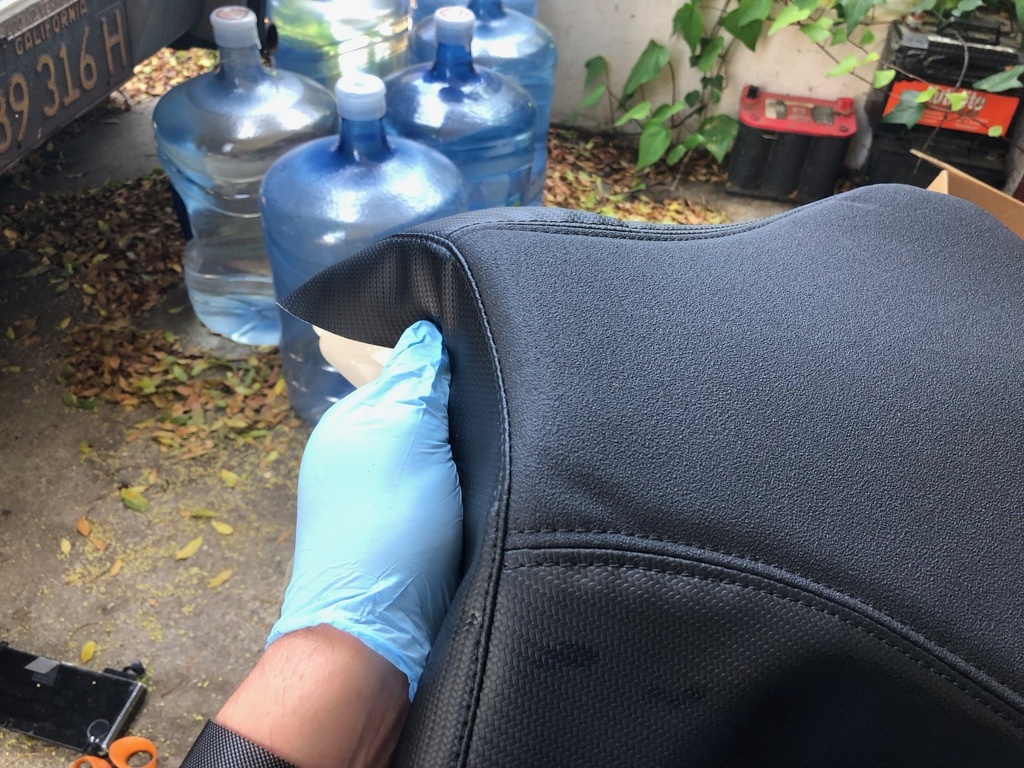
Now take the new cover and slip it over the seat foam. You'll note that one side is sculpted to the seat, start here and drape the rest over paying attention to lining the seams up with the shape of the foam.
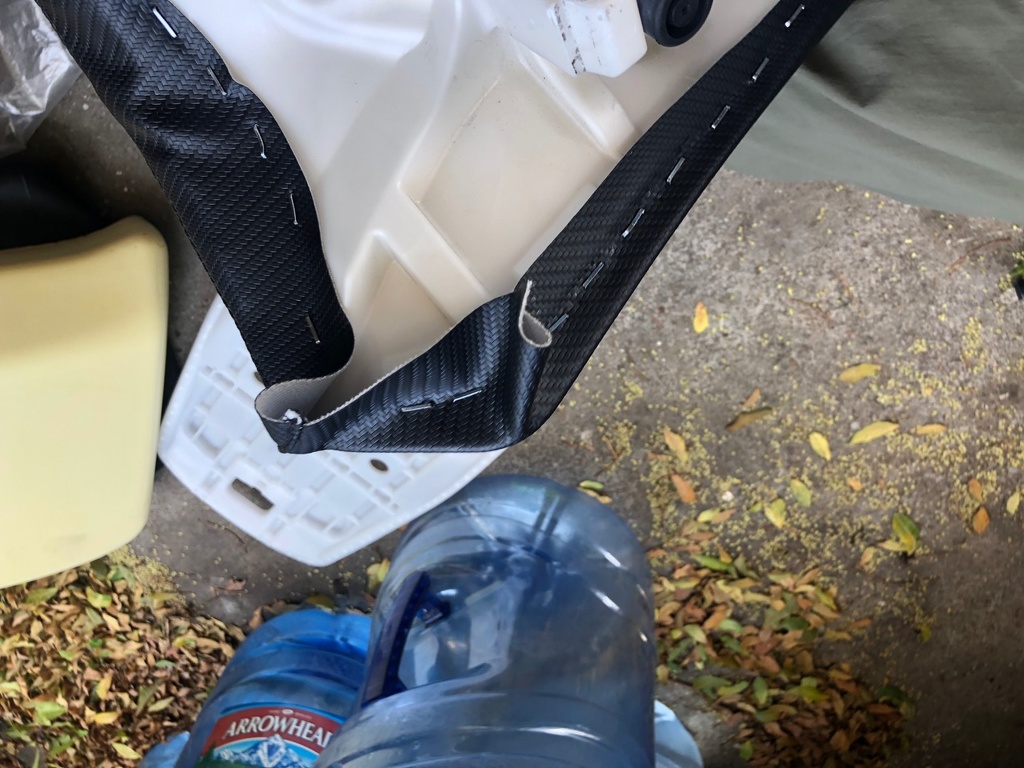
Now it's time to start doing the real job. I beging at the opposte side of the sculpted end (in this case the front of the rear seat). You want to pull the cover tight so that the seam is in the proper place just around the corner from the seat top (this is so that you aren't riding directly on a seam). Hold the fabric in place while you shoot a few staples in.
Now start working your way around the cover stapling as you go. When you come to a seam or where two pieces of fabric come together make it a point to shoot a staple that straddles it.
Don't worry if a staple doesn't fully go in, just keep moving and come back to it later.
As you're working occasionally flip the seat over to inspect. You want to pay attention to the seams to make sure that everything is in the right place and symmetrical. Also look for ripples in the fabric so you can smooth them out by adjusting the tension on the cover. Skip the complicated areas like corners, for now.
Same area after adjusting tension.
Now that you've worked your way around the pan it's time to tackle the corners.
Here you may need to trim the cover a bit to get everything to lay properly then staple it down. Again you want to make sure you straddle all seams and fabric edges.

The rear pan process is much the same as the front although there are a few complications.
First just like the front you're going to drape the cover on from the rear with the front edge loose. I found that I had to fight the rear a little more to get everything to line up.
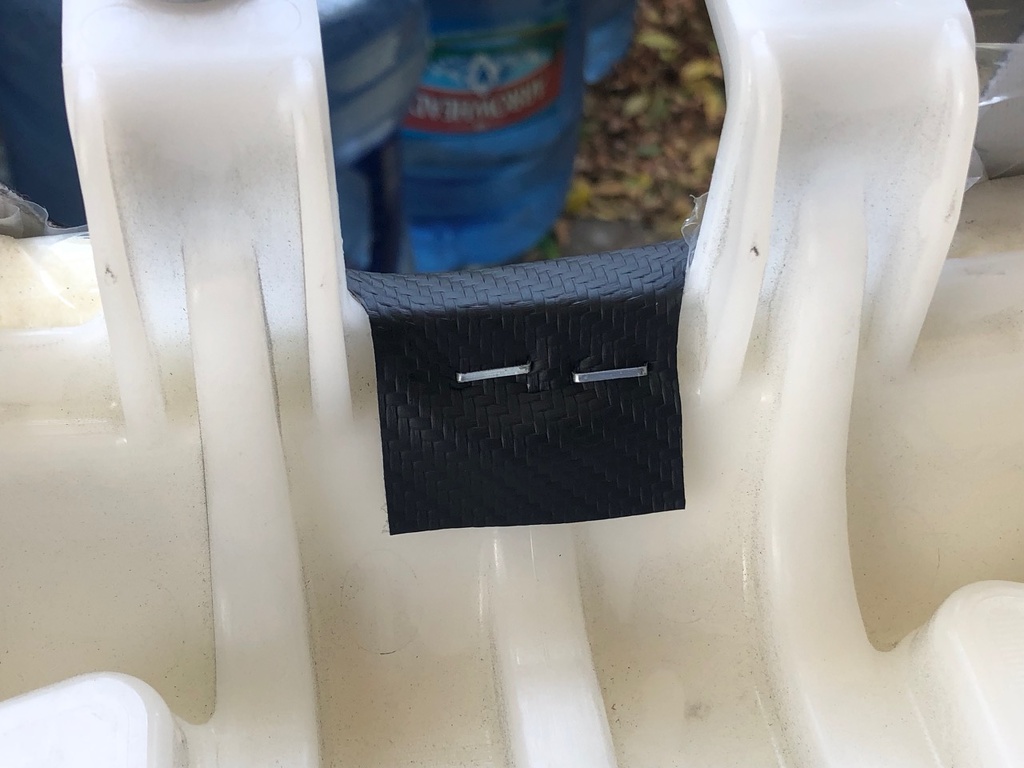
Once you've done so pull the forward edge in between the seat bolt brackets taunt and shoot a copule staples in.
Now once again work your way around the seat driving staples in.
The rear seat pan had more excess fabric than the front so I trimmed it down to ensure it did not interfere with how the seat sits on the bike.
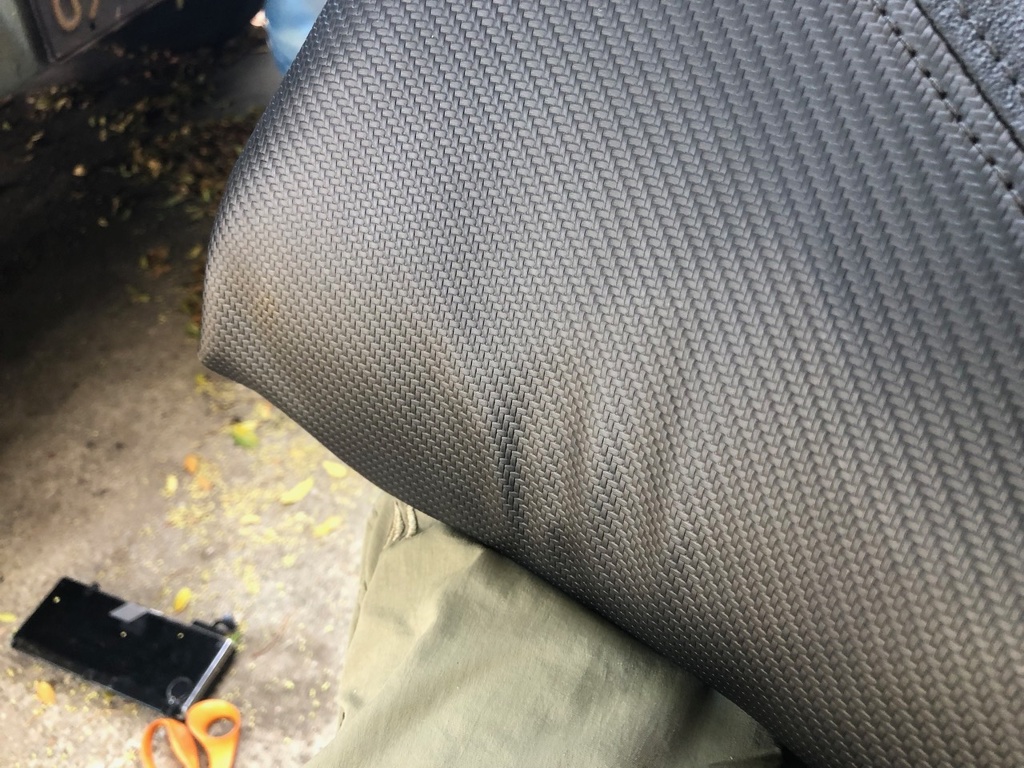
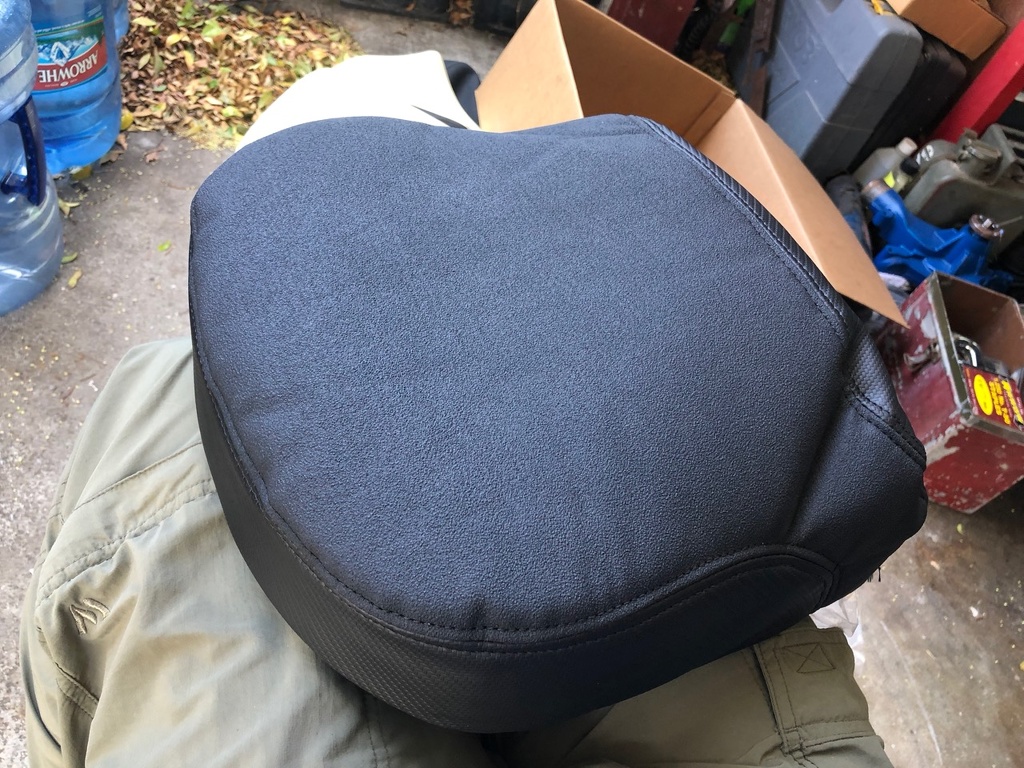
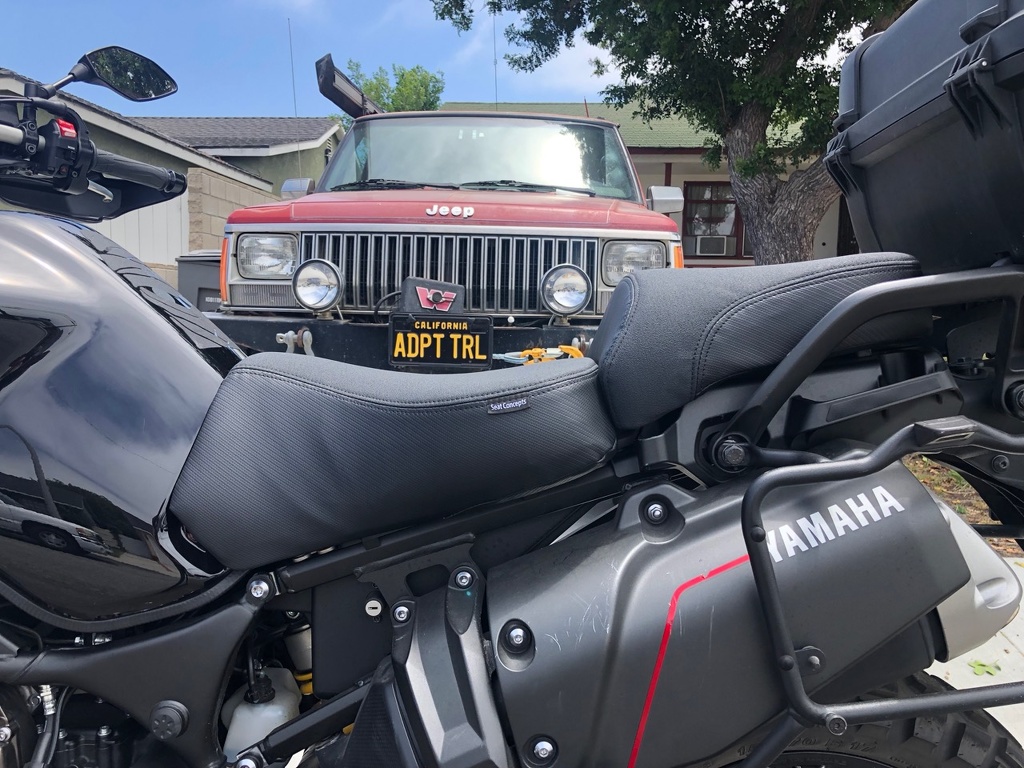
Now get them back on your bike! You'll see I have some ripples in the fabric on the side of my front seat. Sometimes this happens. Don't worry about it too much, I find that they usually work there way out after a couple of weeks in between sitting on it and heat cycling. If they don't all you need to do is remove some staples and adjust tension.
While I haven't had a chance to go out for a ride my initial report on the seat is it's definitely a little wider and a little taller. The rear seat edge is definitely a lot taller. This was intentional in their design to keep the passenger from being inclined to slip forward into you.
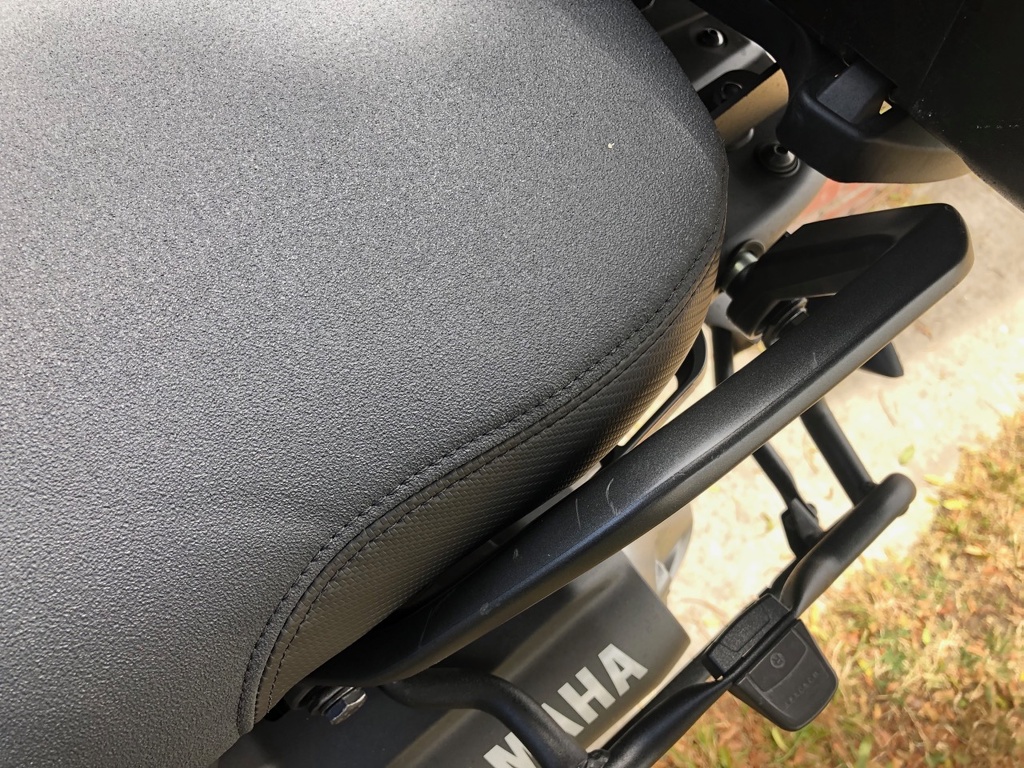
The last detail I noted is a bit less room around the grab bar. You can still use the grab bar, though, so I'm not concerned.
I'm confident I'll enjoy this seat for quite some time.
I finally got around to installing my Seat Concepts Cover & Foam kit onto my bike and figured I would share here. I find the stock seat gets on the uncomfortable side after about an hour and a half on the road so turned to Seat Concepts to correct that. This is my third bike to sport a Seat Concepts kit (previous are the KLR650 and DR350S) and I find their kits to work quite well. For this bike I chose the Gripper Top and Carbon Fiber sides cover as the gripper top closely resembles the OEM seat.
The first thing you want to do is gather your supplies. I'm using an old (like 50+ years) Arrow heavy duty staple gun, T-50 1/4" staples with stake tips, aerosol headliner/carpet glue, and a few hand tools.
Prior to beginning lay your new cover out in the sunlight for about an hour. This will make the job easier by making the material more pliable.
Now take your seat off, flip it over, and start removing the old staples.
I find it easiest to take a small screwdriver and pry the staple up to pop one of the two legs out.
I go around the entire seat with the screwdriver then go around it with a pair of pliers to remove the rest of the staple. When removing the staples note whether the entire staple has come out or if a leg broke off, you don't want those potential sharp edges left in there. In this case I had no staples break in the seat as it's only three years and 7000 miles old.
Now peel the cover off and remove the foam.
When you're done you'll have naked seat pans. If they're dirty wash them off, then look and feel around for sharp edges that may cut the foam or cover.
Put some gloves on then take your can of glue and spray the underside of the new foam liberally.
The kit comes with a plastic layer to put in between the cover and foam. While this is optional I always do so. This layer isn't cut to size (it's actually just a plastic bag) so lay it over the seat and use scissors or a utility knife to cut it at the edge of the pan. The cut doesn't have to be exact as you can trim any oversized parts down later.
Now take the new cover and slip it over the seat foam. You'll note that one side is sculpted to the seat, start here and drape the rest over paying attention to lining the seams up with the shape of the foam.
Now it's time to start doing the real job. I beging at the opposte side of the sculpted end (in this case the front of the rear seat). You want to pull the cover tight so that the seam is in the proper place just around the corner from the seat top (this is so that you aren't riding directly on a seam). Hold the fabric in place while you shoot a few staples in.
Now start working your way around the cover stapling as you go. When you come to a seam or where two pieces of fabric come together make it a point to shoot a staple that straddles it.
Don't worry if a staple doesn't fully go in, just keep moving and come back to it later.
As you're working occasionally flip the seat over to inspect. You want to pay attention to the seams to make sure that everything is in the right place and symmetrical. Also look for ripples in the fabric so you can smooth them out by adjusting the tension on the cover. Skip the complicated areas like corners, for now.
Same area after adjusting tension.
Now that you've worked your way around the pan it's time to tackle the corners.
Here you may need to trim the cover a bit to get everything to lay properly then staple it down. Again you want to make sure you straddle all seams and fabric edges.
The rear pan process is much the same as the front although there are a few complications.
First just like the front you're going to drape the cover on from the rear with the front edge loose. I found that I had to fight the rear a little more to get everything to line up.
Once you've done so pull the forward edge in between the seat bolt brackets taunt and shoot a copule staples in.
Now once again work your way around the seat driving staples in.
The rear seat pan had more excess fabric than the front so I trimmed it down to ensure it did not interfere with how the seat sits on the bike.
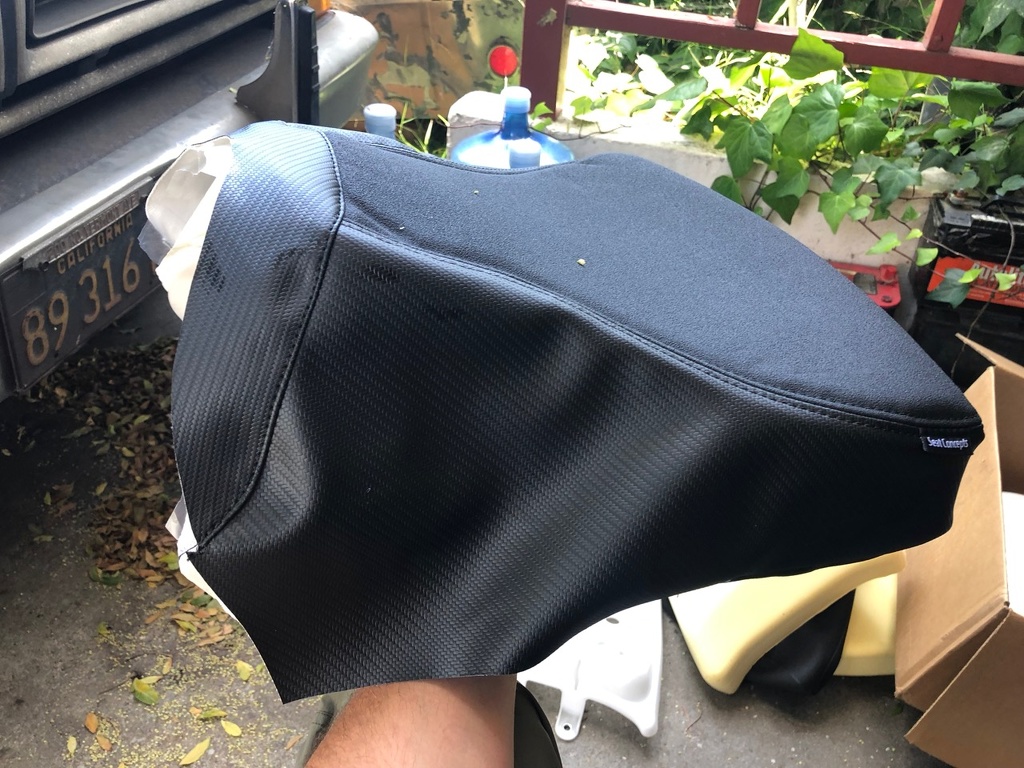
Now get them back on your bike! You'll see I have some ripples in the fabric on the side of my front seat. Sometimes this happens. Don't worry about it too much, I find that they usually work there way out after a couple of weeks in between sitting on it and heat cycling. If they don't all you need to do is remove some staples and adjust tension.
While I haven't had a chance to go out for a ride my initial report on the seat is it's definitely a little wider and a little taller. The rear seat edge is definitely a lot taller. This was intentional in their design to keep the passenger from being inclined to slip forward into you.
The last detail I noted is a bit less room around the grab bar. You can still use the grab bar, though, so I'm not concerned.
I'm confident I'll enjoy this seat for quite some time.