~TABASCO~
RIDE ON ADV is what I do !
Founding Member
2011 Site Supporter
2012 Site Supporter
2013 Site Supporter
2014 Site Supporter
Vendor
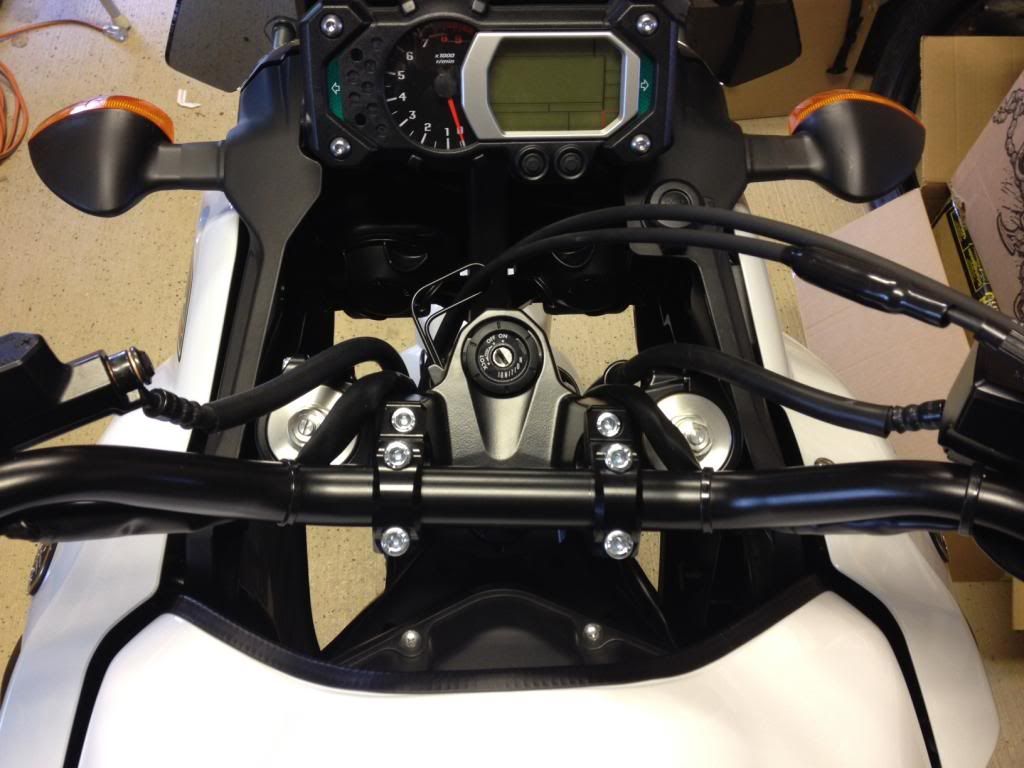
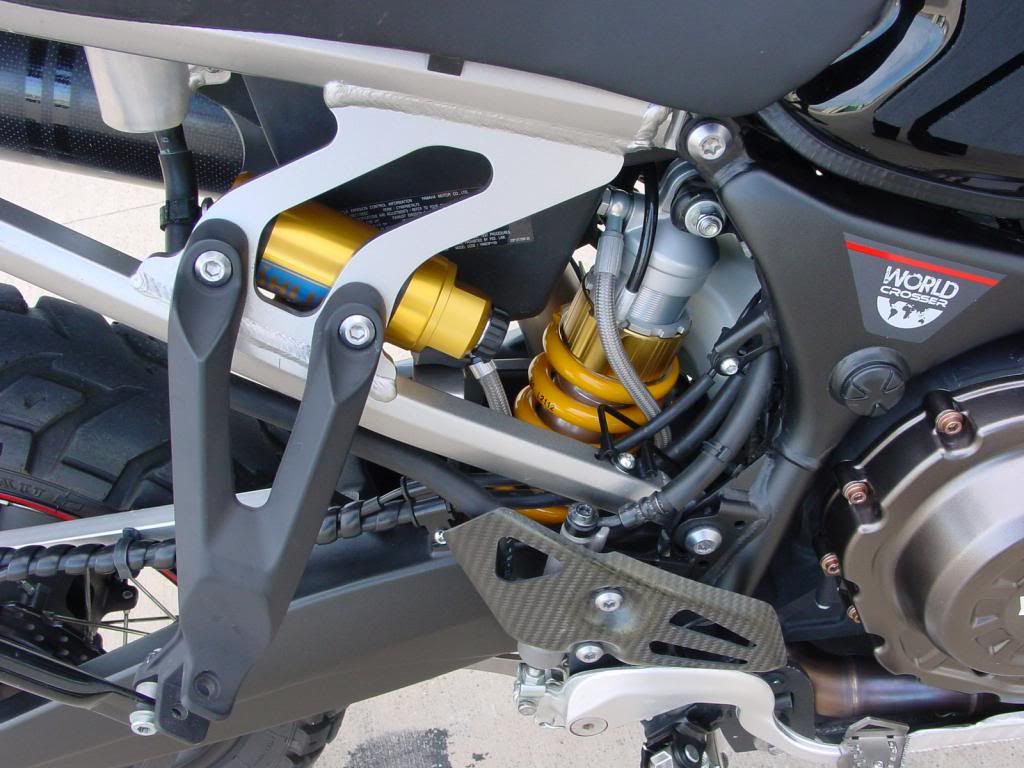
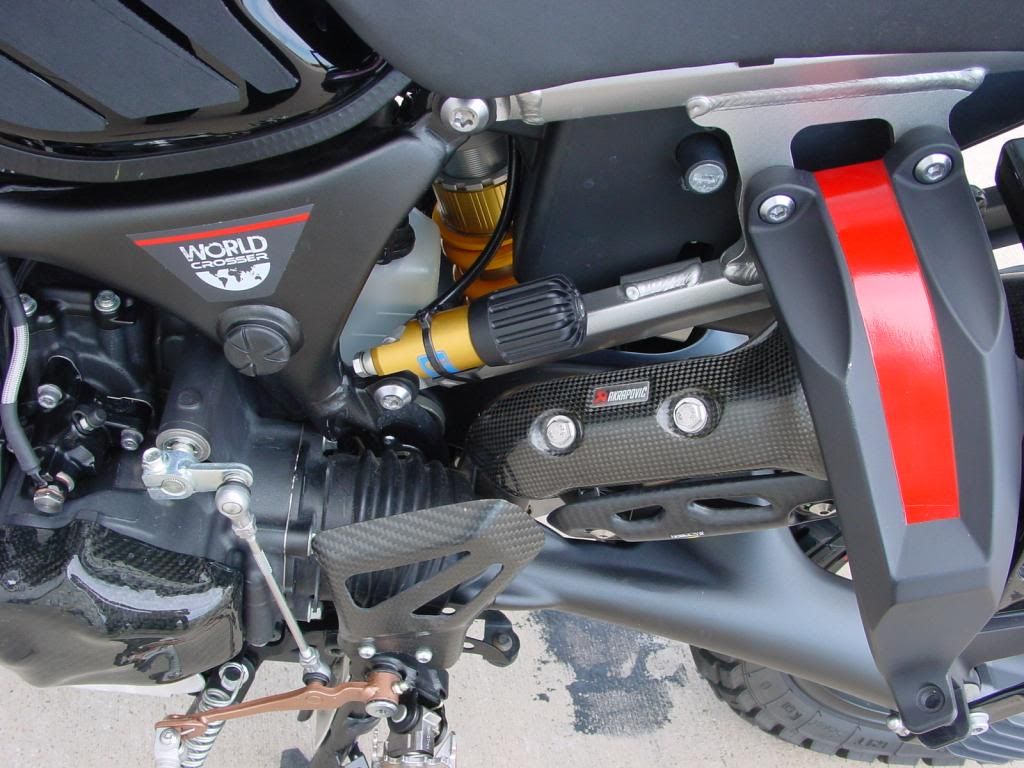
Your bike is looking awesome ! Like Eric said, when its time for a refresh on the shock, contact me and we can help with the line(s) for the shock... I've spoken to Ohlins about this several times. US Ohlins will change them no problem, Sweden is another story... I had the same issue, messing with the install for a few hours. Until I came up with the location I still run today.. Its very well protected and has worked flawless.....p51super10bombay said:Well, not much accomplished today - spent 3 hours off and on trying to find a better way to route the shock lines and the simple answer is........there isn't one. As it comes out of the box, it pretty much has to go the way the instructions show and how others have done. With the subframe off, I tried putting the hydraulic adjuster here and there on both sides of the frame and a couple were close but none were really workable. The issue is that the length of the lines and angles on the fittings are pretty much set up to only work with the supplied brackets. IMO, while Ohlins makes a good product, they didn't put much thought into the details when they fitted up the S10. I may look at making it better later on but that is going to require different brackets and playing with the line length and angles on the hose fittings so for now its just a "stock" Ohlins.


")