Mega Tube installation on a Super Ténéré

I source my tool tubes only from http://www.thetooltube.com/Home.html.
You can buy heavy PVC pipe or the hard plastic Agri-Supply tubes, but these have proven themselves to me and are worth a few dollars more, plus they have some variety and cool accessories. For reference, I have one of their Tool Tubes installed on my WR250R for a year and half and thousands of miles of off-pavement pounding and it’s no worse for wear. The Tube Tender that you can get for it is super handy.
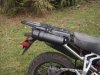
The main reason I want a tool tube is to put stuff in. Obviously, no? Also, I have a set of soft luggage, Nelson Rigg CL850 that could use a right-side stand-off to keep them balanced and tight when mounted. For this exercise, I ordered the Mega Tube, 5 inches in diameter, compared to 3.5 inches for the standard Tool Tube. I fitted both, but the 3.5 incher seemed inadequate on the big Ténéré. Both tubes are the same length and have identical mounting points. (footprint).
Low angle rear view

Soft Luggage tossed on for effect

Butt’s-eye view

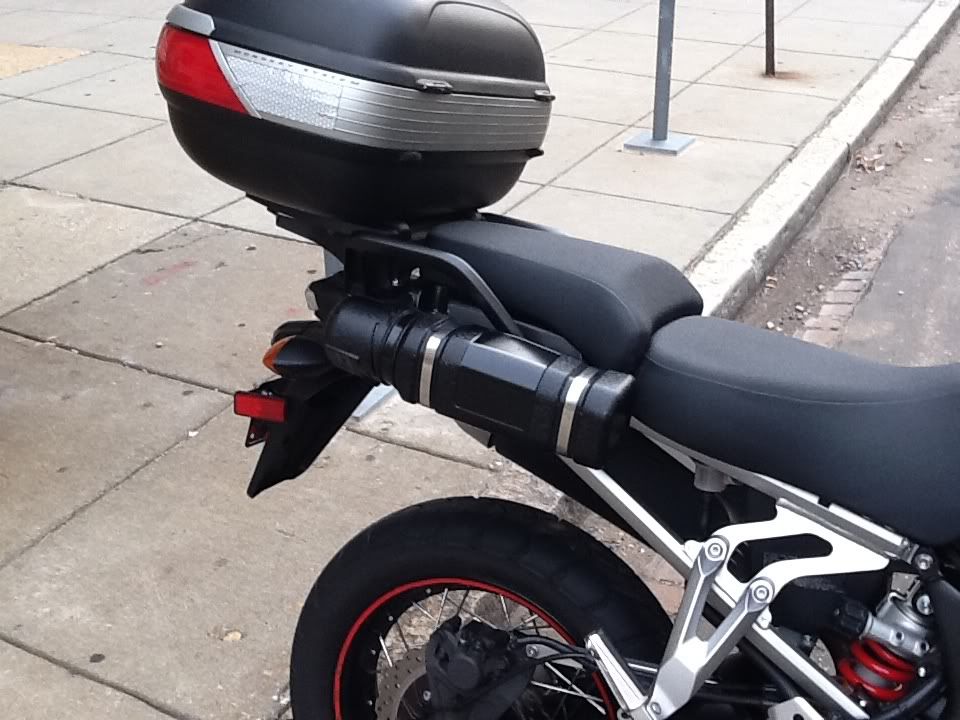
For the initial fitting, I bent a piece of flat metal strap, trimmed as necessary, to fit under the passenger handle, forward bolt. The bottom of the tube was fitted to the backside bolt on the passenger foot peg bracket, using a same-thickness plastic washer to keep the foot peg bracket on the same plane. I didn’t like this position because it was too high and intruded on the passenger foot peg. While this mounting arrangement would suffice for the smaller tube, the Mega Tube needed to be mounted lower and more inboard (but also not interfere with the swingarm or brake arm during suspension compression).
In order to get the desired orientation, I needed a creatively bent bracket. Having some Kydex leftover from the Dash Shelf project and a heat gun, I “molded” a strap of Kydex to suit, bending around the lower sub-frame.
Front bracket

The rear was easier. There is a sub-frame “corner brace” with a hole in it, obviously designed by the factory for this project ::024::
Rear bracket

It only needs to be a flat piece. I got everything mounted up and it looked great, exactly where I wanted it. The problem was, Kydex is too flexible for this application, not sturdy enough. So I replaced the rear bracket with some aluminum flat stock (this justifies not throwing away scraps of junk material). I wouldn’t get off so easy on the front though. But I got lucky. The first bent bracket I made proved to be a good fit as a re-enforcement piece, sandwiching the sub-frame. The mount is now nice and solid.
Inside-out view of the brackets

The whole arrangement is a nice, tight fit. You can get the cap off easy enough, but you have to think about it.
Good luck with your own projects and best regards,
Boondocker
I source my tool tubes only from http://www.thetooltube.com/Home.html.
You can buy heavy PVC pipe or the hard plastic Agri-Supply tubes, but these have proven themselves to me and are worth a few dollars more, plus they have some variety and cool accessories. For reference, I have one of their Tool Tubes installed on my WR250R for a year and half and thousands of miles of off-pavement pounding and it’s no worse for wear. The Tube Tender that you can get for it is super handy.
The main reason I want a tool tube is to put stuff in. Obviously, no? Also, I have a set of soft luggage, Nelson Rigg CL850 that could use a right-side stand-off to keep them balanced and tight when mounted. For this exercise, I ordered the Mega Tube, 5 inches in diameter, compared to 3.5 inches for the standard Tool Tube. I fitted both, but the 3.5 incher seemed inadequate on the big Ténéré. Both tubes are the same length and have identical mounting points. (footprint).
Low angle rear view
Soft Luggage tossed on for effect
Butt’s-eye view
For the initial fitting, I bent a piece of flat metal strap, trimmed as necessary, to fit under the passenger handle, forward bolt. The bottom of the tube was fitted to the backside bolt on the passenger foot peg bracket, using a same-thickness plastic washer to keep the foot peg bracket on the same plane. I didn’t like this position because it was too high and intruded on the passenger foot peg. While this mounting arrangement would suffice for the smaller tube, the Mega Tube needed to be mounted lower and more inboard (but also not interfere with the swingarm or brake arm during suspension compression).
In order to get the desired orientation, I needed a creatively bent bracket. Having some Kydex leftover from the Dash Shelf project and a heat gun, I “molded” a strap of Kydex to suit, bending around the lower sub-frame.
Front bracket
The rear was easier. There is a sub-frame “corner brace” with a hole in it, obviously designed by the factory for this project ::024::
Rear bracket
It only needs to be a flat piece. I got everything mounted up and it looked great, exactly where I wanted it. The problem was, Kydex is too flexible for this application, not sturdy enough. So I replaced the rear bracket with some aluminum flat stock (this justifies not throwing away scraps of junk material). I wouldn’t get off so easy on the front though. But I got lucky. The first bent bracket I made proved to be a good fit as a re-enforcement piece, sandwiching the sub-frame. The mount is now nice and solid.
Inside-out view of the brackets
The whole arrangement is a nice, tight fit. You can get the cap off easy enough, but you have to think about it.
Good luck with your own projects and best regards,
Boondocker
")


